Anchors are a small component to which little consideration is frequently given but are vital to preventing the collapse of the structure or installation that depends on them. A true anchor failure is very rare, however, that isn’t to say that they do not fail. In our latest sound-out episode Stevan examines the two causes of anchor failure.
As the M&E industry becomes ever more regulated, specifically with the introduction of 'the golden thread', there is now a need to provide evidence when an anchor/fixing is specified. Anchor/fixing compliance doesn't have to be complicated, the guidance is clear within BS 8539.
Simply click on the relevant link to find what you are looking for.
What is the main cause of anchor failure?
What are the main anchor installation errors that cause anchor failure?
How do you correctly install a drop-in anchor?
What is the correct method to set a drop-in anchor using automatic setting tools?
What is the correct method to set a drop-in anchor using manual setting tools?
How can anchor selection cause suspension failure?
How common are anchor installation errors?
What is the main cause of anchor failure?
- Incorrect anchor installation is the most prolific cause of failure.
- The anchor has not been selected correctly in the first place (the specifier has not followed the correct due diligence around selection as outlined in BS 8539:2012 code of practice)
What are the main anchor installation errors that cause anchor failure?
For the M&E industry the drop-in anchor, (otherwise known as wedge anchors / hammer sets / ceiling anchors /over-head anchors) are often the anchors that are installed incorrectly. In most cases, anchor installation failure is due to the installer not knowing which setting tool to use and how to correctly set the anchor.
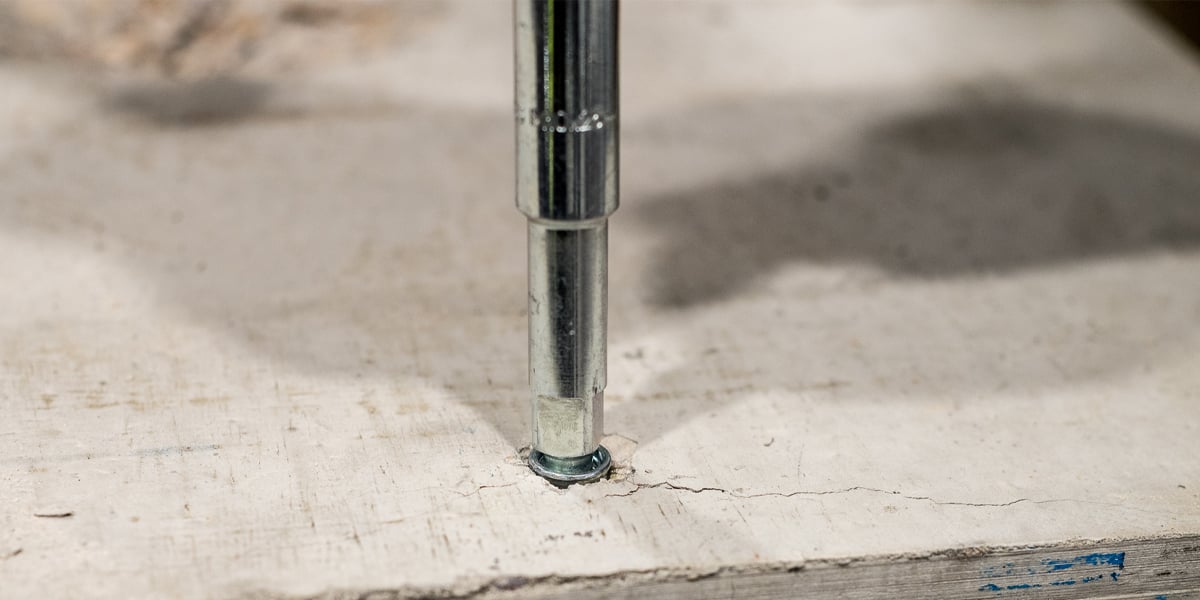
Drop-in anchors are quite tricky to manually set, you must use the correct setting tool and have got to hit them quite hard for several blows with a suitable sized hammer to set them. You have got to drive the plug-in to the correct depth. Often the drop-in anchor is underset, when they are loaded incorrectly, they will only take a partial load, resulting in bracket collapse.
How do you correctly install a drop-in anchor?
For this you will need:
- Drilling machine (ensure you have one that gives you the correct depth for the specified anchor)
- The correct drill bit – where possible use a drill bit with a PGM logo
- A method for clearing the hole (blow-out pump)
- The correct weighted hammer
- A manual or automatic setting tool
- PPE equipment
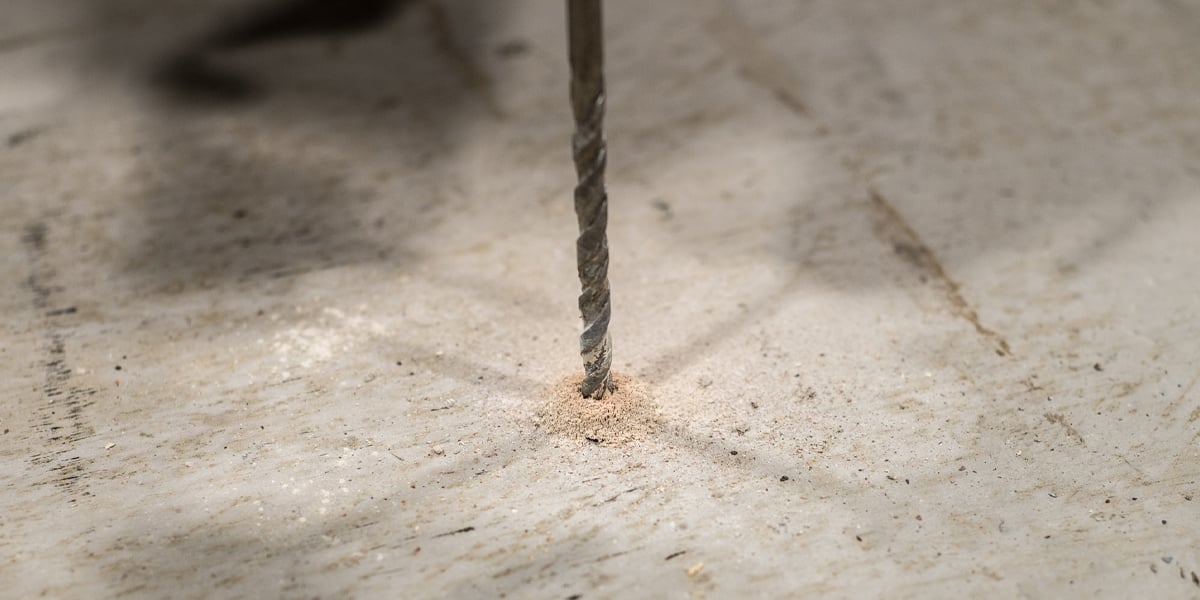
To install a drop-in anchor the first task is to drill the hole to the correct depth suitable to the specified anchor, you then clean the hole using a blow-out pump, finally, you can either use a manual or automatic setting tool to complete the installation.

Please note: It is critical when installing an anchor that holes are drilled to the correct diameter and depth. Using a worn drill bit results in undersized holes, making installation difficult and increasing stresses in the anchor material and potentially leading to a failure – inspect drill bits frequently and replace when worn.
Removing dust from holes is also important to prevent the anchor bottoming (anchor failing) on the compacted dust.
What is the correct method to set a drop-in anchor using automatic setting tools?
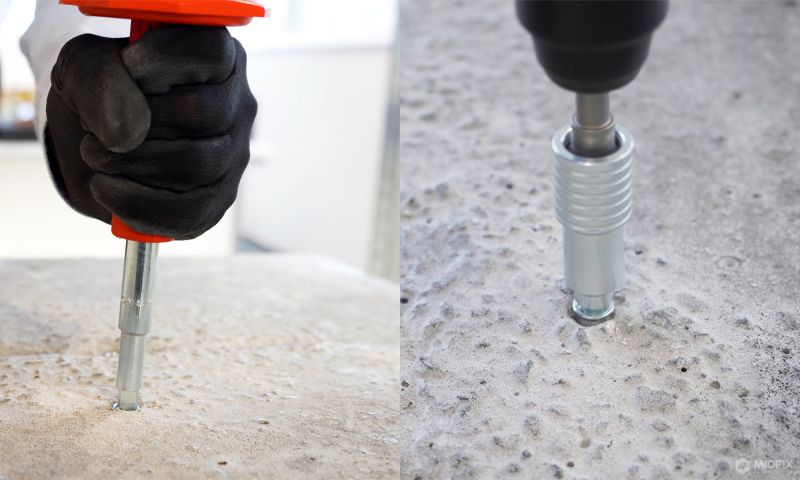
One way to set a drop-in anchor is through an automatic setting tool, simply slip the setting tool housing over the stop drill bit, insert this into the SDS drill ‘turn on to hammer only’ and you can then automatically insert the wedge anchor.
It is important to note that according to BS 8539:2012;
‘To ensure wedge anchors are correctly set use only the setting tools supplied by the manufacturer. Using an SDS setting tool generally achieves better results than can be achieved by hand especially in overhead situations’.
What is the correct method to set a drop-in anchor using a manual setting tool?
The second way to set an anchor is by using manual setting tools. Using the correctly weighted hammer blow the anchor several times ensuring you can drive the plug-in to the correct depth. Please note, if you are using a setting tool equipped with a witness mark ensure that this is left in the lip of the anchor for correct installation.

How can anchor selection cause suspension failure
Numerous factors influence anchor selection. If the correct due diligence is not followed by the specifier then it can also be a reason that contributes to anchor/site failure.
As BS 8539:2012 code of practice outlines, there are six main areas that the specifier must examine before an anchor can be selected.
- Substrate – the manufacturer should advise what substrate is suitable for that anchor, cracked, or non-cracked concrete.
- Loadings – what load can the fixing take and can the fixing perform to the load requirement? Once again, this would be outlined by the ETA.
- Environment – is it a corrosive environment?
- Type of install – is it going to be a through fix or a flush fix?
- Type of anchorage – torque-controlled, deformation-controlled, undercut/key or resin.
- Approvals – ETA documentation
After selection, it is then the responsibility of the specifier to ensure that the originally specified anchor is supplied on-site.
How common are anchor installation errors?
The CFA (Construction Fixings Association) highlights two case studies showing the damaging effects of anchor installation failure -
Overall, they are the two reasons why anchor failures occur, due to incorrect selection and installation errors.
Further reading
The primary source for guidance across BS 8539:2012 code of practice is through the construction fixings association website. However, we have taken deep dive into anchor/fixing compliance and focused on best practice around anchor selection, supply, installation and testing.


.png?width=768&name=MicrosoftTeams-image%20(347).png)