Did you know that 53% of construction project owners experienced underperformance on at least one project in the previous years, according to a 2015 survey by KPMG International?
Whether we like to admit it or not, there’s a lot to work on in the construction industry, what with the many outdated practices, bad habits, and common misconceptions. You might not even be aware of these things that could be hindering the success of your projects, or that you’re doing anything wrong at all. Particularly with anchors, they’re often dismissed or not given much thought until the installation. But, considering their vital role in holding a structure up, and the fact that the failure of one may trigger the failure of other anchors and lead to a collapse, they really should never be neglected. For these reasons, I’ve put together a list of common misconceptions and mistakes made in the construction industry in relation to anchors.
- #1: They’re a commodity product
- #2: “I’ve always done it this way, so it must be correct”
- #3: You can let the site team select anchors based on past experience
- #4: Assuming you need a pull test
#1: They’re a commodity product
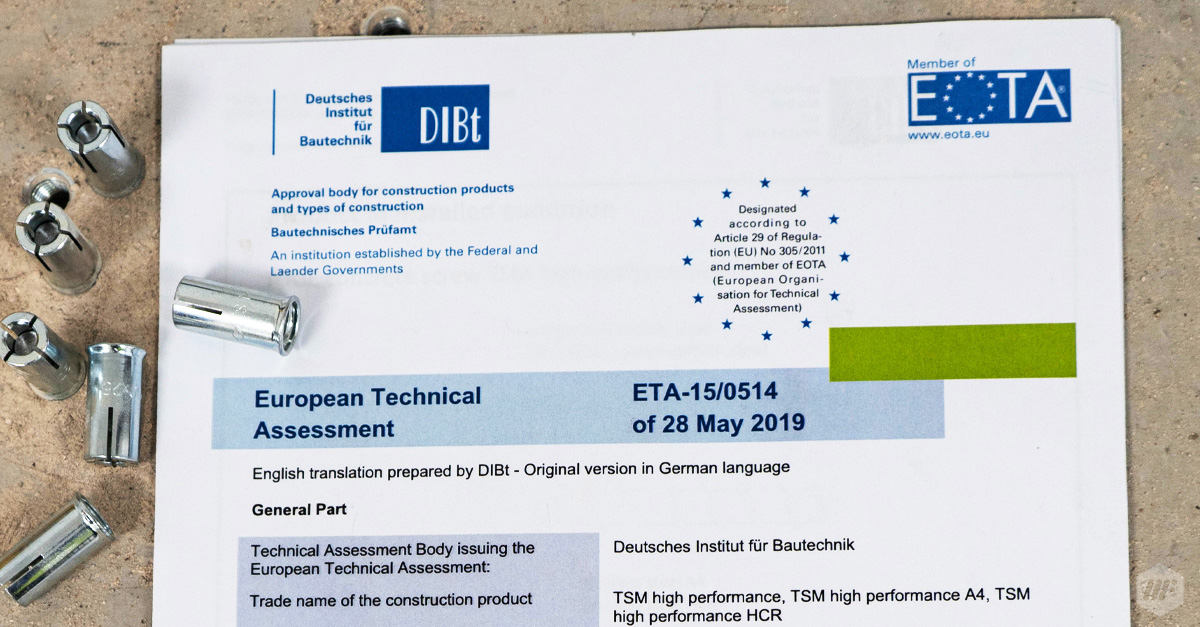
Anchors are usually installed overhead, so their installations are classed as ‘safety-critical’ (meaning: application in which the failure of anchors can cause risk to human life and/or significant economic loss). This is why the safety requirements of the anchor specification and installation shouldn’t be compromised for cost reduction. Unfortunately, however, that’s not the case in the industry. They’re often treated as commodity products, with many M&E contractors looking for cheaper alternatives to the anchors they’ve been specified to use for a project. But it’s a strange ask – that anchor has been specified for a reason, why would you go through the change management process afterward? Also, bear in mind, that if you do end up changing the specification to a cheaper alternative, you become the specifier, which holds you responsible for any issues that arise. Needless to say, when anchors are viewed as commodity products, it’s clear that cost is the main motivation. But, as we all know, and as per the BS:8539:2012 Code of Practice, if an ETA-approved anchor is available for the application, which in most cases, there would be, then it should be used. And there is a significant difference in cost between standard anchors and ETA-approved anchors. For reference, a box of ETA-approved drop-in/wedge/deformation-controlled anchors would cost around £35, while a box of non-approved anchors of the same kind would only be around £8-9. Because they might look and feel very similar, giving the impression that they’d perform just as well, it can be tempting to assume they’re the same product and go for the cheaper option. It’s understandable, even. But the truth is, they’re not. The sole fact that an anchor is ETA-approved makes all the difference. And actually, the products are different and typically better-performing. Most importantly, though, the ETA document itself gives us the ability to specify that anchor and is worth the extra costs alone. The reason they cost so much more in the first place is because of all the testing that takes place to validate their performance. . We recently asked a European manufacturer of quality, ETA-approved concrete screws. To put a concrete screw through development, through the ETA process, and maintaining that ETA costs them just over a whopping million euros. No wonder!

#2: “I’ve always done it this way, so it must be correct”
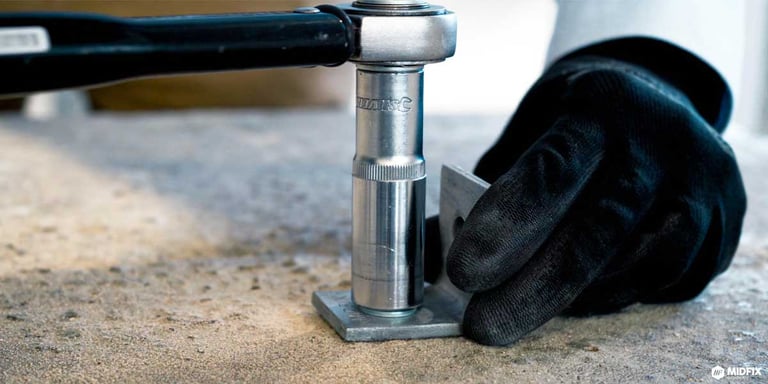
One of the biggest issues in our industry, particularly with experienced individuals, is that they continue to do things the way they’ve ‘always done it’ and believe they are still the right way. And while most of the time, that could be the case, there are bad habits the industry has picked up over time. Particularly when it comes to the installation phase. After you’ve gone through all that trouble to specify the correct, ETA-approved anchor and it’s arrived on site, the biggest variable at this point is the installer of the anchor. This is where things can start going awry! There are a number of things that can be done wrong here. For example, using the incorrect setting tool. Manufacturers will have a setting tool specifically designed to be paired with their wedge anchors. But often, a setting tool from one manufacturer will be used to set an anchor made by another manufacturer; and that’s incorrect. Similarly, you can’t install a through-bolt without a calibrated torque wrench, because that torque is critical to how the anchor will perform. You should also make sure it’s set to the correct torque value – overtightening is just as bad as leaving it too loose. The solution to these is simple: training. (It also helps to be a bit more open-minded about stepping away from somewhat old-fashioned methods!) It’s imperative that installers are well-trained for installing each anchor the way it should be installed, as well as the principles and their responsibilities within BS:8539, and what to do when something goes wrong – that includes knowing when to stop and seek advice. The installer needs to be competent, and so does the supervisor on site. The supervisor’s responsibility is to ensure that the correctly specified anchors and setting tools are on site, that the installers have used the correct methods of installation, and sign off the installation prior to it being loaded. Quite a lot of weight on the supervisor’s shoulders – all the more reasons to be competently trained.

#3: You can let the site team select anchors based on past experience
The selection process: although we have made great strides in this department in recent years, unfortunately, the industry, in general, doesn’t tend to specify its M&E anchors. Typically, what tends to happen in our industry is that the site team will decide what anchor to use for each installation – which will usually rely on past experience. Meaning, that if they’ve historically used drop-in anchors for previous projects, they’ll just use them again – and that’s a no-no! In line with the BS:8539, to specify the correct anchor, there are a number of things you should consider. Firstly, the substrate that the anchor will be drilled into: if it’s concrete, for example, what’s the design strength? Is it cracked or non-cracked? You should also keep in mind the loads applied to the anchor, and that includes cable pulling. Also, think about the environment that the anchor is intended to perform in; is it corrosive, a dry indoor atmosphere, etc.? Additionally, consider the type of anchor and its principles, because that does limit where they can be used. Is it an interlock, friction, or bonding anchor? And finally, double-check what approvals might be needed. Now that you know all the points of due diligence, hopefully, you can appreciate that it’s not just incorrect to leave all of this to the site team, but also unfair. The specification should be done well before that. The site team should only be focused on how to install the anchor correctly, not how to specify it.
#4: Assuming you need a pull test
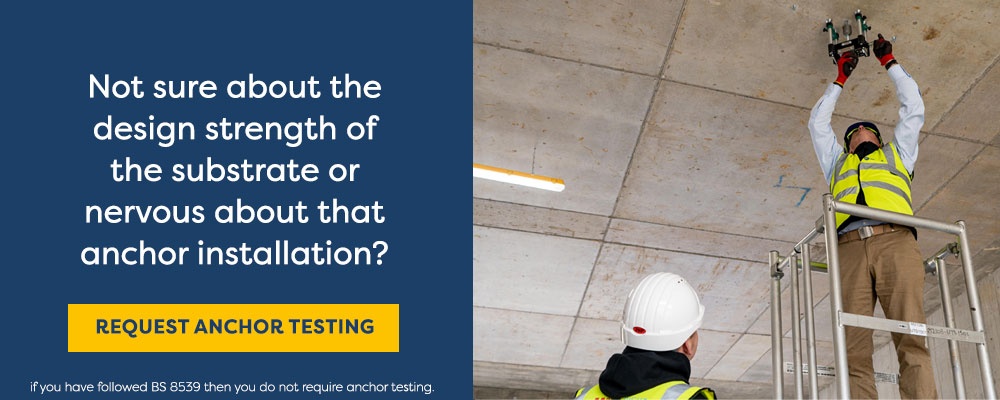
Often grouped together and referred to in the industry as the broad term ‘pull tests’, there are two types of testing: proof testing, and allowable load testing. A common occurrence with M&E contractors is that they’ll assume their specified anchor requires testing, so they’ll request a pull test. And while in certain situations that would be true, most of the time it’s actually unnecessary. As we’ve established, ETA-approved anchors should be used whenever applicable/available. The BS:8539 states that if one is used, and it’s been installed into a known substrate by trained installers and with competent supervision, then there is no need for further testing. All of that has been taken care of prior, in the ETA. There is no way we can replicate that level of rigorous testing (which costs a million euros, mind you!) on site. Proof testing is the most common type – though like I said, it shouldn’t be called upon if the correct process was carried out throughout. This is where we come on site, test an anchor that has already been installed and intended to use in service, load it to a test load, and that will basically tell us whether the anchor had been installed accurately. What it doesn’t tell us is if it’s been specified correctly, or if it’s fit-for-purpose. The more relevant type of testing is allowable load testing; this is for when an element of the ETA is unknown. For example, if it's an old building and you have no idea of the design strength of the concrete, then the ETA cannot apply because it’s missing an element that would tell us how the anchor would perform in that substrate. We test a large number of anchors, take it up to much higher loads, sometimes to the point of failure, and then back-calculate the recommended load from that. Other than that, however, you most likely wouldn’t need testing – so save your time, energy, and money! Not to confuse you further, but there are two types of testers: general testers (for proof testing) and advanced testers (required for more complex applications, allowable load testing). Whatever you do, though, please make sure that whoever is taking up the testing is CFA (Constructions Fixings Association)-approved.
Conclusion
You can truly never be too careful or prepared when it comes to anything building-related, really, but especially with anchors. Yes, they may be small, but they can do a lot. And you can easily make or break the installation process.
I hope that reading this article has cleared up some of the common misconceptions related to anchor installations and will help you avoid these mistakes to ensure only the best applications in the future. Good luck!


.png?width=768&name=MicrosoftTeams-image%20(347).png)

